Hi pole beauties!
How many of you have toyed with the idea of ✨making your own pole dance clothes ✨? Ever wanted to play around with different styles and prints for your original polewear?
Welcome to the thrilling world of DIY polewear!
Whether you're crafting for comfort, style, or just the sheer joy of creating something unique, this guide is for you.
Let’s dive in, girlfriend-style, and embark on this creative journey together.
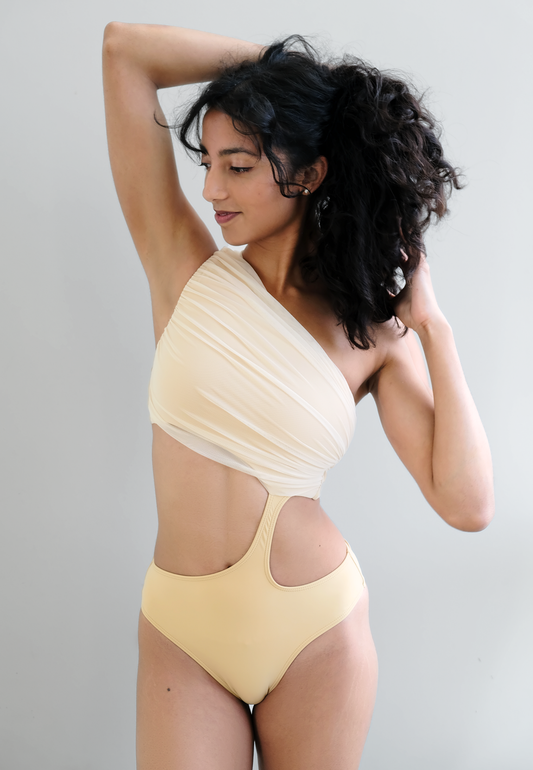
Step 1: Create Your Original Design
This is where the magic begins! Designing polewear is about striking that perfect balance between looking fa-a-a-bulous and ensuring your outfit complements those impressive pole moves, without unwanted reveals (IYKYK).
Top Tips:
- Crops are Tops: Opt for a cropped top with minimal waist coverage to enhance belly grip.
- Security Upside Down: Make sure tops are snug enough for those upside-down moments but still let you move freely.
- Do you know we perform an invert test on every piece to ensure everything stays in place?
- Need Inspiration? Check out the Zerone Design polewear collection for some eye-catching ideas!
Bottom Tips:
- Less Is More: In the pole world, less fabric on your thighs means more sensational moves.
- Opt for Exposed Legs: This maximizes your pole grip—every bit of contact counts!
- Comfort and Coverage: A wide crotch design is essential. We want zero accidents on the pole, especially during those 'hello boys' moments.
Step 2: Picking Fabrics and Those Little Extras
The right fabric is crucial. It can make or break your polewear. Curious about selecting the perfect material? Dive into our detailed blogs that explore the secrets of stretchy, supportive fabrics.
- No it’s not the same as swimwear!
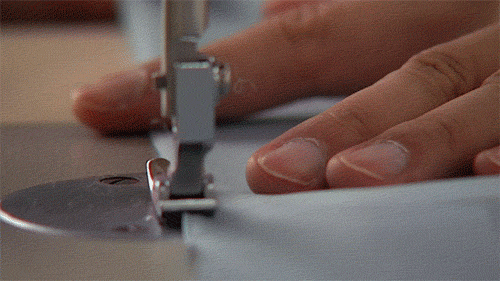
Step 3: Thread and Stitch
Your creation needs to hold together, even when you're spinning faster than a DJ's turntable. Use a home sewing machine that can handle elastic fabrics with stitches like the Zigzag stitch—this baby will let your fabric stretch without snapping threads.
Thread Talk: Always opt for polyester thread for elastic fabric. It's strong, flexible, and reliable!
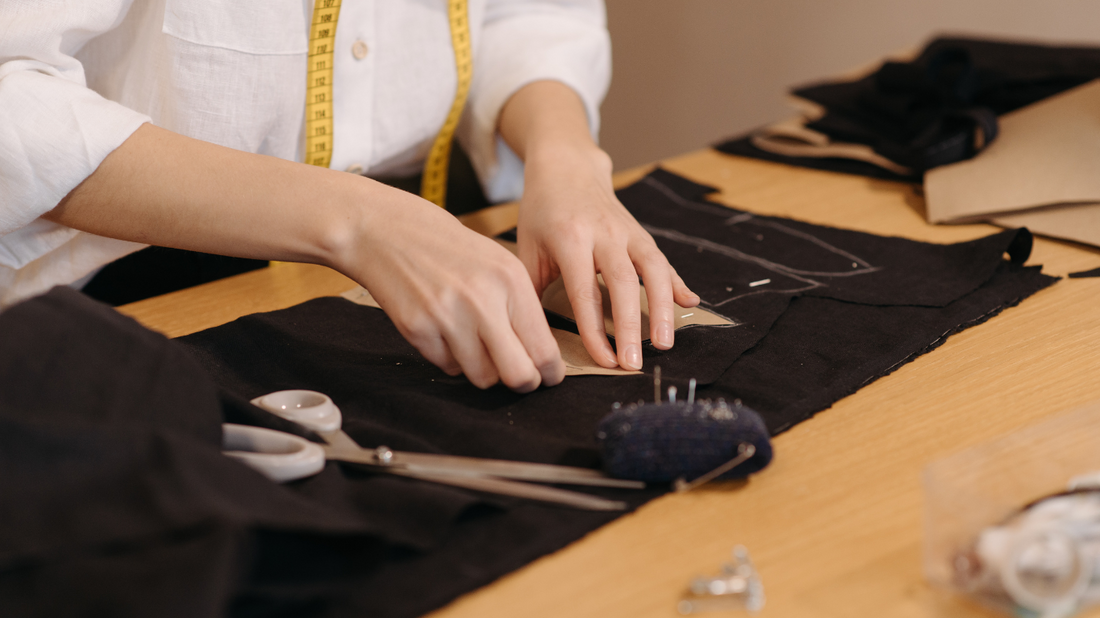
Step 4: Pattern Making
Once your design is set, it's time to translate that idea into a tangible pattern.
Prototyping Pro Tip:
- Start with a mock-up using cheaper stretchy material. This way, you can make adjustments without the stress before cutting into that fabulous final fabric, AND it’s a perfect chance to pratice on your sewing skills!
- Making multiple patterns is common until you find the perfect one—once you've made the commitment, embrace the process!!
Step 5: Putting It All Together
Now that your pattern is perfected, let's assemble it into your dream polewear. Remember—Zigzag stitch, poly thread, and your hands. Cut your chosen fabric according to your patterns, line up those pieces, and stitch them into polewear perfection using your trusty polyester thread and secure elastic stitches.
Final Fling
There you have it—a fabulous piece of polewear created by you, for you. Feel good, look great, and dance with all the confidence of a queen. Remember, this is your moment to shine, both on and off the pole, so make it count!
And before you ask -- NO. IT IS NOT EASY.
But hopefully, this guide simplifies things for you.
And hey, why not show off your creation? Tag us or send us a message—we can’t wait to cheer you on as you flaunt your custom fit. Cheers to making polewear as unique as you are! 💃💕
Too lazy to make one? Get Zerone -- premium polewear designed in USA.
✨DIY Polewear Creation Checklist ✨
Planning and Design:
Sketchpad and Pencils: For drafting initial designs.
Measurement Tape: To take accurate body measurements.
Pattern Paper: For creating and adjusting patterns.
Fabric and Materials:
Elastic Fabrics: Such as spandex or lycra, appropriate for polewear.
Supplementary Elastic: For waistbands, leg openings, and straps.
Adjustable Straps and Buckles: If your design includes adjustable features.
Prototyping Fabric: Less expensive material for initial pattern testing.
Sewing Supplies:
Fabric Scissors: Sharp scissors for clean cuts.
Seam Ripper: For correcting any sewing mistakes.
Pins or Clips: To hold fabric pieces in place while sewing.
Chalk or Fabric Markers: For marking fabric before cutting or sewing.
Sewing Machine and Accessories:
Sewing Machine: Capable of handling stretchy fabrics.
Elastic Stitch Capability: Ensure your machine has this setting.
Polyester Thread: Durable and elastic, suitable for sewing stretchy fabrics.
Various Sewing Machine Feet: Such as a walking foot or a Teflon foot, which can help with sewing elastic materials.